Deploying OpenClaw on Windows WSL and Managing It from macOS
Most people run OpenClaw directly on their primary computer. Others move it to a cloud VPS and pay a small monthly cost. There is a third option that is often cheaper and more practical: run it on an old Windows laptop you already own. Recently, I moved my OpenClaw runtime off my primary MacBook and onto a spare Windows machine running WSL Linux. The goal was not just to “make it run somewhere else”, but to build a cleaner remote workflow:
- let the Windows machine stay always on
- keep long-running agent tasks off my daily laptop
- use the Mac as the control surface for monitoring and management
After several rounds of debugging SSH, port forwarding, browser services, and WSL networking, the setup became stable enough for real use. This article is a complete write-up of the architecture, setup process, and the non-obvious issues I ran into.
Why This Setup
The biggest motivation was workflow separation.
My MacBook is where I write, design, and think. It is my primary environment, and I prefer keeping it responsive and uncluttered.
Long-running AI agents are different. They benefit from:
- persistent uptime
- isolated resources
- background execution
- freedom from daily laptop sleep cycles
A spare Windows machine sitting in the corner of the house is perfect for that.
Running OpenClaw inside WSL gives me a proper Linux runtime, while macOS becomes the remote terminal and dashboard viewer.
This split-machine setup feels much closer to having a personal always-on compute box.
Architecture Overview
The final topology looks like this:
Mac
 ├─ SSH access
 ├─ Dashboard + monitoring
 ├─ Local port forwarding
 └─ Companion App (exposes macOS capabilities to the agent)
        ↓
Windows Host
 ├─ WSL-to-host port forwarding
 └─ WSL Linux
      ├─ OpenClaw gateway
      ├─ SSH server
      └─ Headless Chrome
The key idea is simple:
- Windows handles host-level networking
- WSL Linux runs OpenClaw
- Mac connects through SSH and local forwarding, and acts as the control surface
This gives remote access without exposing services broadly across the local network.
Installing Chrome Inside WSL
First, configure WSL on Windows and install OpenClaw inside WSL by following the official documentation. I also connected a Telegram bot to the agent so I can still interact with it when I am away from my desk and only have my phone.
To enable browser-side capabilities, OpenClaw needs a working Chrome binary inside Linux.
Install Chrome
sudo apt update
sudo apt install -y wget gnupg ca-certificates

wget https://dl.google.com/linux/direct/google-chrome-stable_current_amd64.deb
sudo dpkg -i google-chrome-stable_current_amd64.deb
sudo apt --fix-broken install -y
Verify the Installation
which google-chrome
google-chrome --version
If both commands succeed, Chrome is ready for OpenClaw’s browser layer.
Configure the Browser Service
Add a browser section in openclaw.json:
{
  "browser": {
    "enabled": true,
    "executablePath": "/usr/bin/google-chrome",
    "headless": true,
    "noSandbox": true
  }
}
In WSL, headless and noSandbox are typically required for reliable startup.
Also make sure the tool profile is set to full, otherwise the browser tool may not be available to the agent:
{
  "profile": "full"
}
Then start and verify the browser service:
openclaw browser start --browser-profile openclaw
openclaw browser status
If the status command returns healthy output, the browser endpoint is live.
Enabling SSH Access from macOS to WSL
This is the foundation of the entire remote workflow.
Generate a Key Pair on macOS
ssh-keygenCopy the Public Key into WSL
Make sure the permissions inside Linux are strict enough:
chmod 700 ~/.ssh
chmod 600 ~/.ssh/authorized_keys
Incorrect file permissions are one of the most common reasons SSH key authentication fails.
Install the SSH Server in WSL
sudo apt update
sudo apt install -y openssh-server
Configure sshd
Edit the SSH server config:
sudo nano /etc/ssh/sshd_configRecommended settings:
PubkeyAuthentication yes
AuthorizedKeysFile .ssh/authorized_keys
PasswordAuthentication no
This gives you a clean key-based authentication workflow.
Restart the service:
sudo service ssh restartSolving the WSL Networking Problem
The tricky part is that WSL IP addresses are ephemeral. They can change after a reboot, which makes direct connection inconvenient. To make the connection stable, I used Windows port proxy to expose the Linux SSH port through the Windows host.
First, get the WSL IP address:
ip aThen on Windows PowerShell, run:
netsh interface portproxy add v4tov4 `
  listenport=<host-ssh-port> `
  listenaddress=0.0.0.0 `
  connectport=<wsl-ssh-port> `
  connectaddress=<wsl-ip-address>
For example, this commonly maps:
- Windows port
<host-ssh-port> - to WSL port
22
Now the Mac only needs the Windows machine’s LAN IP address.
This removes most of the pain caused by changing WSL IPs.
Connecting from macOS
With the proxy in place, connecting becomes straightforward:
ssh -i <path-to-private-key> <wsl-username>@<windows-host-lan-ip> -p <host-ssh-port>I strongly prefer defining an SSH alias instead.
In ~/.ssh/config:
Host wsl
  HostName <windows-host-lan-ip>
  User <wsl-username>
  Port <host-ssh-port>
  IdentityFile <path-to-private-key>
  IdentitiesOnly yes
Now the connection becomes:
ssh wslMuch cleaner.
Remote Dashboard Access with Local Port Forwarding
The most useful part of the setup is forwarding the OpenClaw dashboard port back to the Mac.
In ~/.ssh/config:
Host wsl-forwarding
  HostName <windows-host-lan-ip>
  User <wsl-username>
  Port <host-ssh-port>
  IdentityFile <path-to-private-key>
  IdentitiesOnly yes
  LocalForward <local-dashboard-port> 127.0.0.1:<remote-dashboard-port>
Then start the tunnel:
ssh -N wsl-forwardingNow the remote dashboard becomes locally accessible on the Mac:
http://127.0.0.1:<local-dashboard-port>If your local and remote dashboard ports are both 18789, then the result is:
http://127.0.0.1:18789This is one of the cleanest parts of the setup: the service stays remote, but the usage feels local.
Install the macOS Companion App and Connect It
Install the macOS Companion App on your Mac and connect it to the remote SSH server running on the Windows machine.
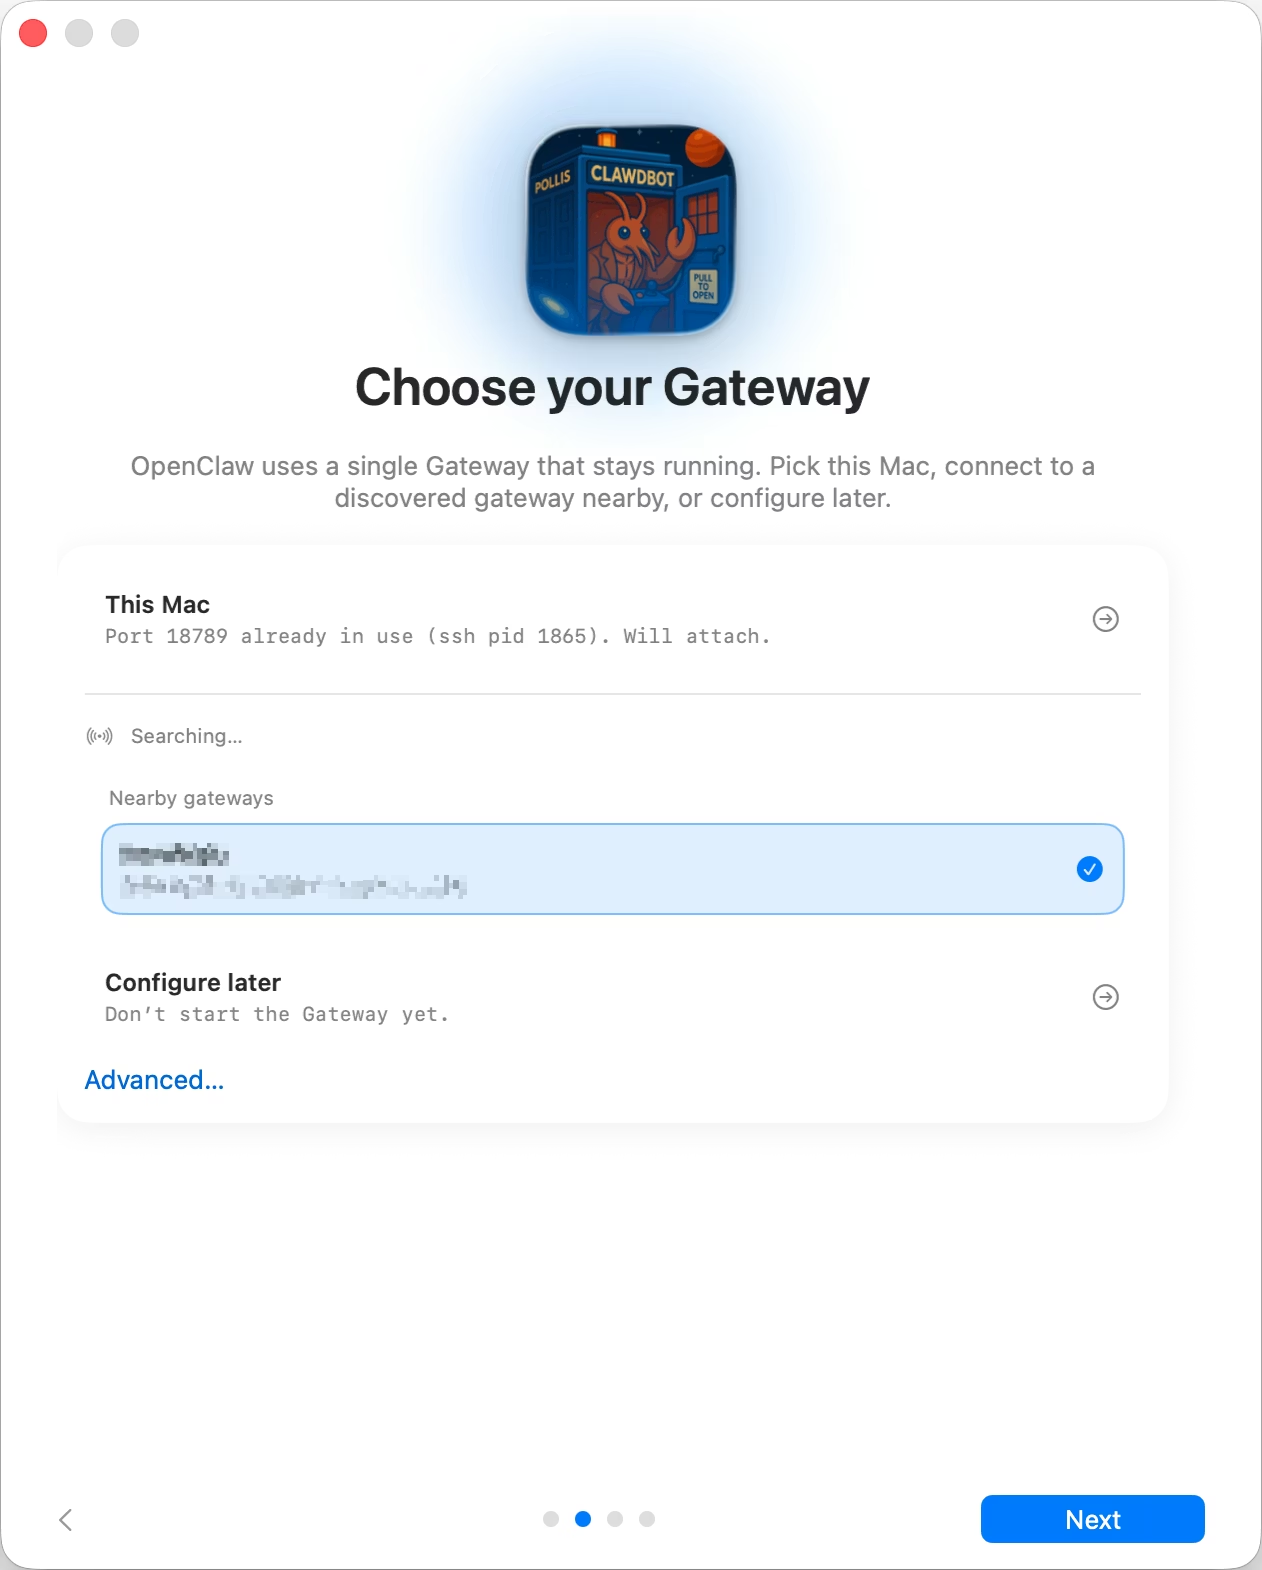
Then grant the required permissions:
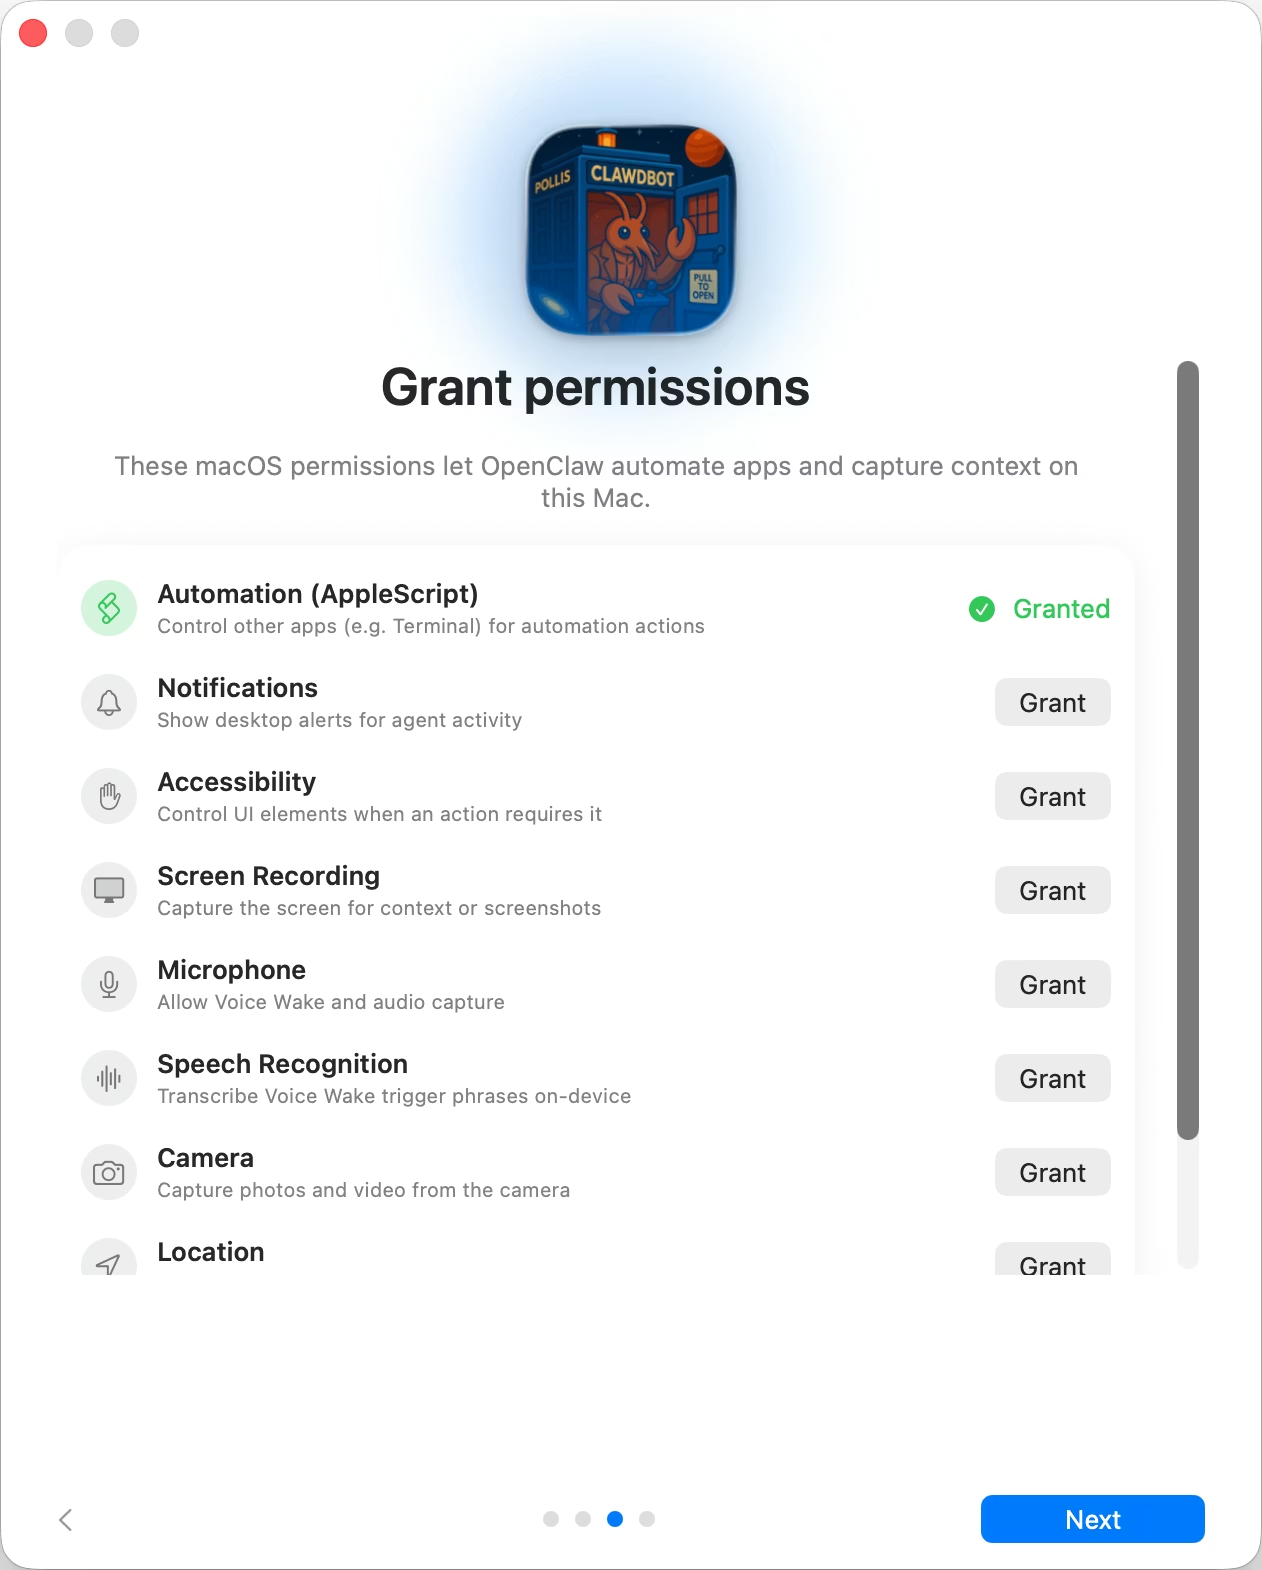 The currently stable capabilities include:
- dashboard monitoring and SSH access from the Mac
- screenshot capture, notification access, UI control on macOS
- Telegram access from a phone over the internet
- long-running background agents on the Windows laptop
At this stage, the workflow becomes especially powerful: even when you’re away from home, you can chat with your agent through Telegram and instruct it to operate your personal Mac remotely. Because OpenClaw runs inside an isolated runtime and requires no internet-exposed ports, the entire setup remains both secure and operationally low-risk—an ideal architecture for a personal always-on AI system.
Another Useful Management Tool
You can also connect to WSL through VS Code Remote SSH.
This makes file management much easier, especially for:
- editing OpenClaw configuration files
- managing workspace directories
- checking logs
- making quick operational changes without staying in the terminal the whole time
In practice, I found this especially helpful for routine maintenance.
Final Thoughts
What I like most about this setup is that it changes how OpenClaw fits into my daily workflow.
Instead of being just another local tool, it becomes a persistent remote runtime:
- the Windows box handles execution,
- while the Mac stays focused on thinking, design, and control.
It turns an unused machine into something much more valuable - a personal always-on AI infrastructure node.
And honestly, this feels increasingly close to what personal AI workflows may look like in the future.
Comments